


Description
🧾 Description
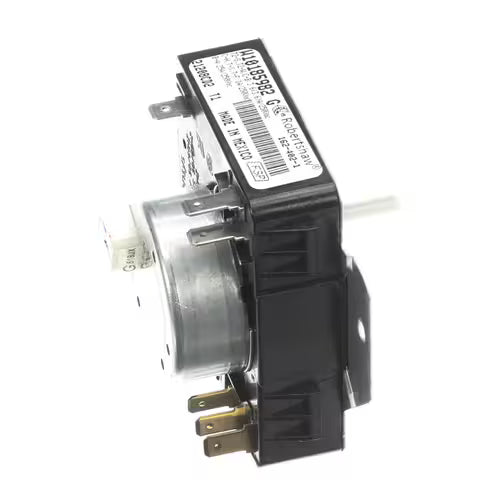
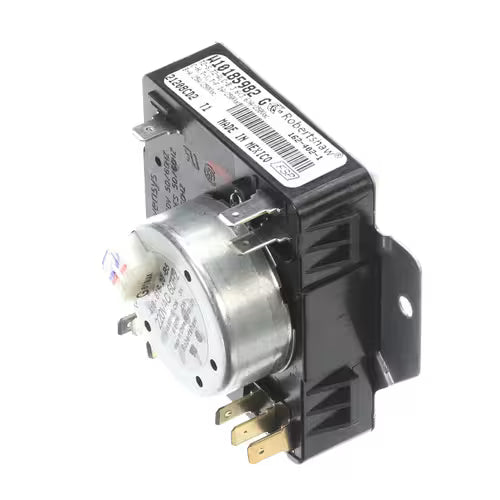
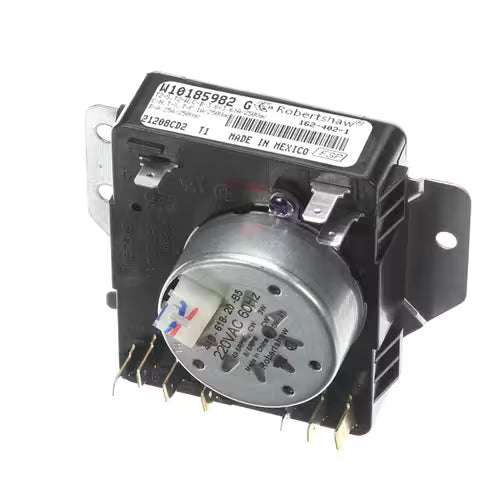
Restore proper cycle sequencing in your dryer with the WPW10185982 Timer Assembly — a genuine OEM part manufactured by Whirlpool. This timer controls key functions of the drying process — such as heating, tumbling, and cool-down phases. Whirlpool Parts+2Alliance Laundry+2
When the timer fails, common symptoms include the dryer skipping stages, not advancing properly, running without stopping, or not heating. Replacing this unit helps bring back full, reliable operation.
⚠️ Note: Always disconnect power (and gas supply if applicable) before servicing your appliance. Verify your dryer’s model number to ensure compatibility.
⚙️ Features & Benefits
-
✅ Authentic OEM quality — built to Whirlpool’s factory specifications for accurate fit and reliable performance. Whirlpool Parts+1
-
🔄 Restores full cycle control — ensures your dryer completes all phases (heat → tumble → cool) properly.
-
💡 Solves timing/control issues — ideal for dryers that won’t complete a cycle, won’t shut off, or have erratic behaviour.
-
🔧 Direct replacement design — installs in place of the original timer using existing mounting and wiring.
-
🧺 Improves dryer reliability & lifespan — correct cycle sequencing reduces wear on other components.
⚠️ Common Symptoms
You might need to replace this timer if you observe any of the following:
-
Dryer tumbles but does not heat, or heating is inconsistent.
-
Cycle takes much longer than usual, or never ends.
-
Timer knob or dial doesn’t rotate or skips settings.
-
Dryer runs indefinitely without finishing.
-
The timer appears damaged, worn, or has arced contacts.
🔁 Cross Reference
-
Replaces part number: W10185982 Whirlpool Parts+1
-
Also listed as: WPW10185982VP (in some older listings) Parts Warehouse
🧩 Compatibility Notes
-
Confirm your dryer’s model number label (usually inside the door frame or on the rear panel) to ensure this part is correct.
-
This timer is typically mounted behind the front control panel, connected via a multi-wire harness.
-
If the timer failure appears to be due to electrical arcing or mechanical wear, inspect related components such as the door switch, start switch, thermal fuse, and venting/airflow system—underlying faults may shorten timer life.
-
After installation, turn the timer knob through all cycle positions (with power off) to ensure smooth mechanical engagement before closing the panel.